![]()
Hello Android developer !
In this tutorial , we’ll develop an Android App that call a weather web service to display the weather’s condition for Ariana,Tunisia (just an example).
If you want to make your own web service , check out my tutorial here .
At the end of this tutorial , you’ll find the Github link of the full source code , it contains more features (everything is explained by comments).
Let’s get started !

Before start developing , you have to create an account in openweathermap to get an API key (If you don’t want to do this step , you can use mine).
If you are familiar with creating Android projects , skip to the next step
Create an Android project
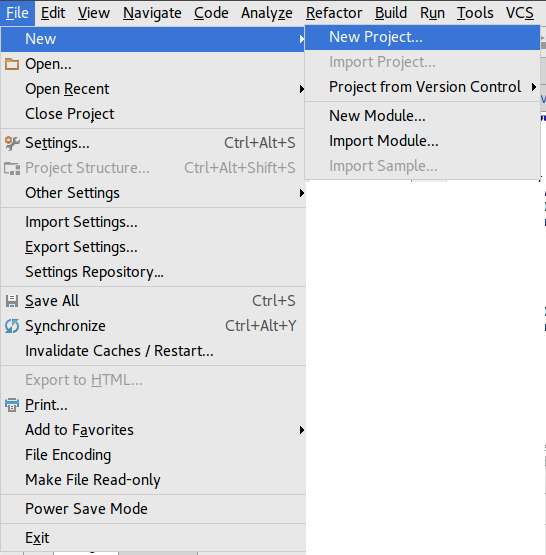
To create an Android project , go to File-New-New Project
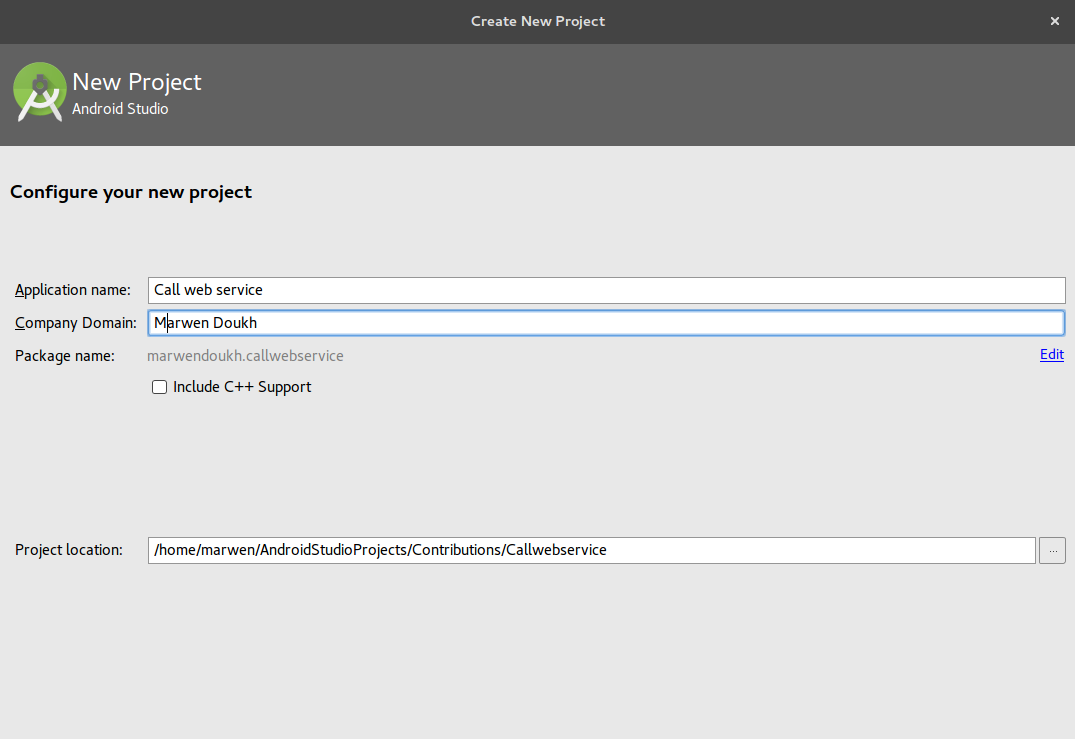
Then enter your Android project name. The package name will be used as an ID of your App , so try to make it unique.
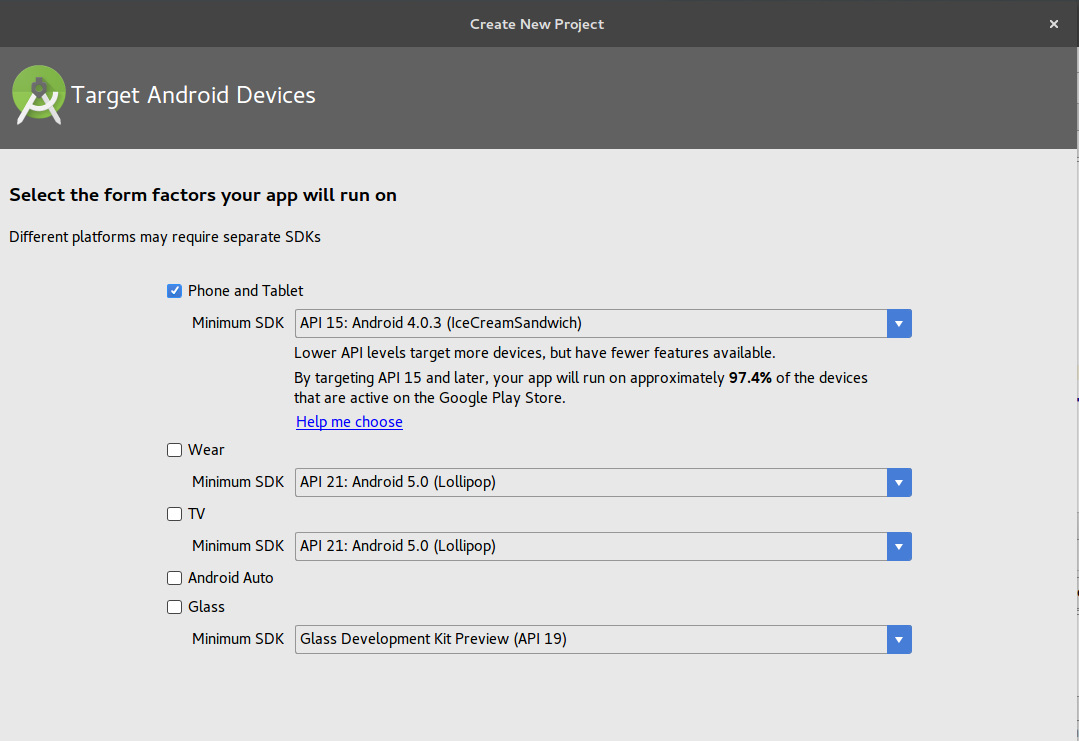
Select the minimum SDK , this means the lowest Android version that your App can run on.
In this example , our App will run on Android 4.0.3 and above.
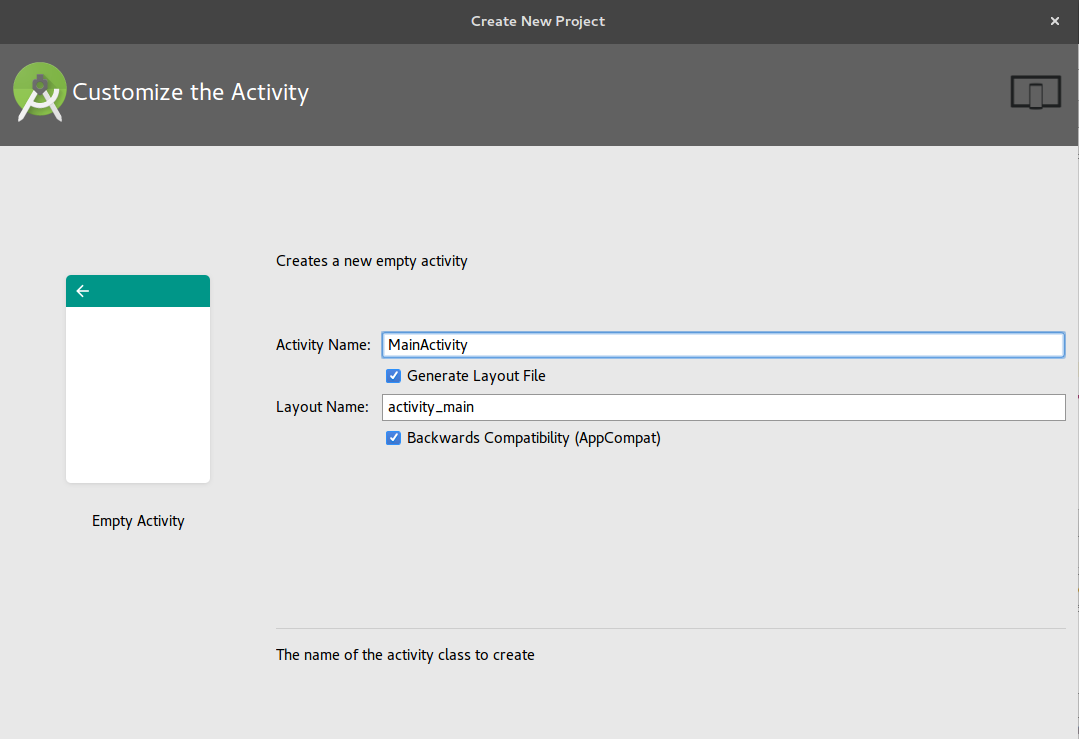
In Android , an activity is composed by a JAVA class and an XML file : JAVA for the processing and XML for the interface.So , in this step , we’ll create the first activity in the App.
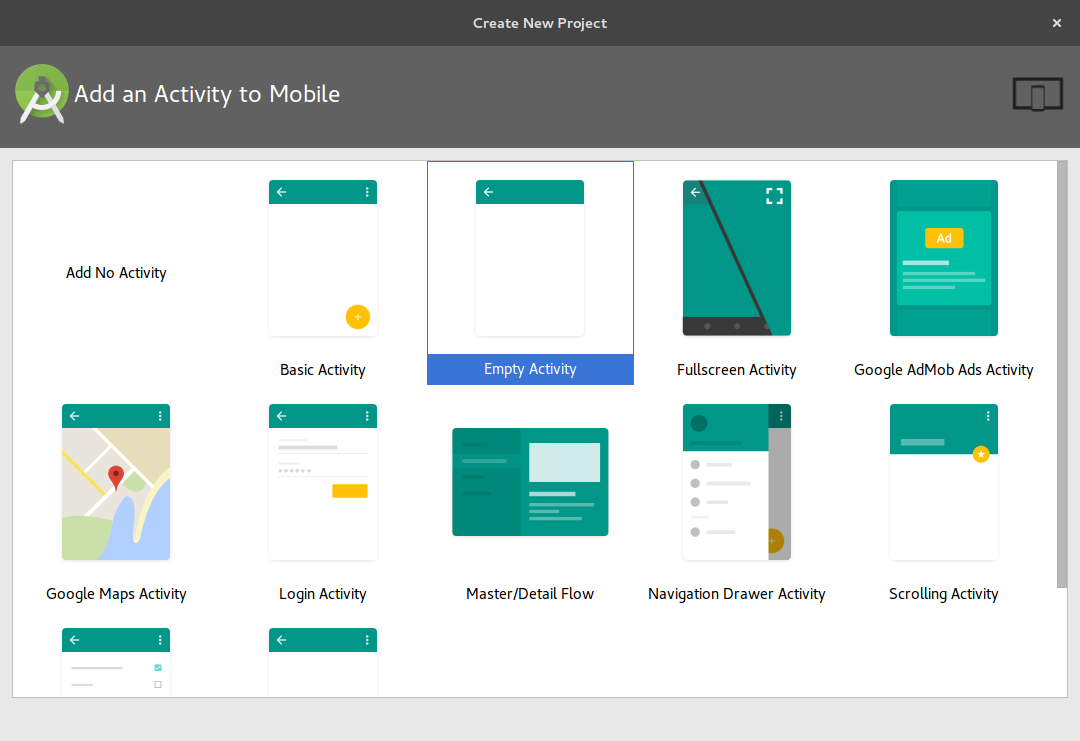
Enter the JAVA class name (Activity name) and the XML file name (Layout name)
Finally ! Our Android project was created successfully.
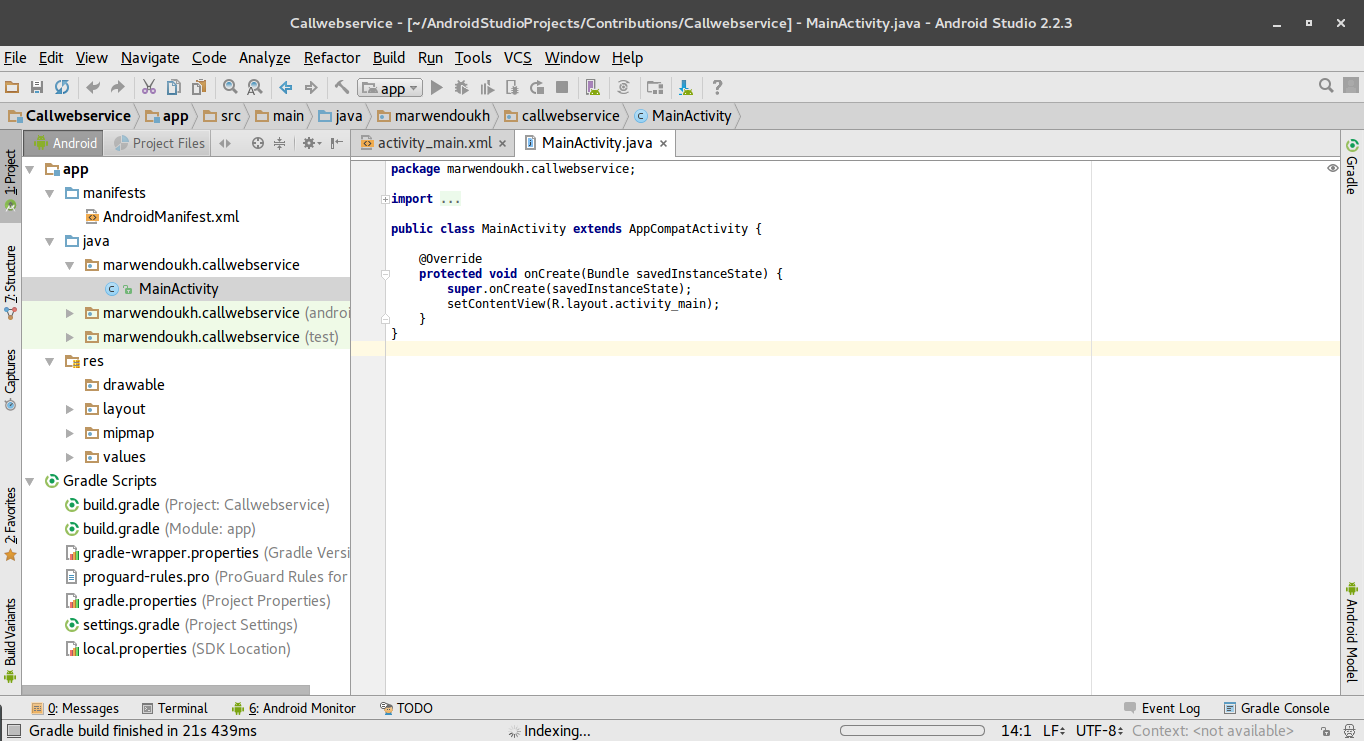
Every Android project is composed by 3 main files :
- Android manifest (XML file) : This file contains all the information about the App such as the activities that it contains and the App permissions
- MainActivity (JAVA file)
- activity_main.xml (XML file for the layout)
- build.gradle : It contains the App version and all the dependencies
Adding App dependencies
We need 2 dependencies the first one is Volley , a library that makes HTTP requests easier.
And Glide , a library that makes downloading and displaying images in the App easier.
To add those libraries , add this to build.gradle (Module : App) file
(you will find it in Gradle.Scripts section)
compile 'com.android.volley:volley:1.0.0'
compile 'com.github.bumptech.glide:glide:3.7.0'
After making change in build.gradle file , Gradle will ask you to do a project sync , Click Sync Now to import the 2 libraries.

App permissions
Since we’ll make a HTTP request to retrieve the weather conditions , we need to ask for INTERNET PERMISSION from the user.
We need also to know if the user have an Internet connection or not , so we’ll ask for ACCESS NETWORK STATE PERMISSION as well.
Add this to AndroidManifest.xml , before the application tag.
<!--Request Internet connection-->
 <uses-permission android:name="android.permission.INTERNET" />
 <!--Request to check Internet connection state-->
 <uses-permission android:name="android.permission.ACCESS_NETWORK_STATE" />
Preparing the GUI
In our interface , we need 2 TextViews to display the temperature and weather description , and 1 ImageView to show a background according the weather condition. Open activity_main.xml , this file describe how will be our user interface.
First , we set the background image , it will cover the entire screen (match_parent)
 <!--background image-->

        <ImageView
        android:id="@+id/weatherbackground"
        android:layout_width="match_parent"
        android:layout_height="match_parent" />
Then , we add 2 TextViews
<!--display the temperature-->
           <TextView
       android:id="@+id/temperature"
       android:layout_width="match_parent"
       android:layout_height="wrap_content"
       android:layout_marginTop="40dp"
       android:gravity="center_horizontal"
       android:text="10 °C"
       android:textSize="90sp" />
           <!--display the weather description-->
           <TextView
       android:id="@+id/description"
       android:layout_width="match_parent"
       android:layout_height="wrap_content"
       android:layout_marginTop="40dp"
       android:gravity="center_horizontal"
       android:text="Clouds"
       android:textSize="40sp" />
Now , since we have the GUI ready. Let’s start developing
Start developing
As we mentioned above , a “screen” is composed by 2 files : JAVA and XML. So now , we’ll edit the MainActivity class to add the business logic (the part of the program that determine how data can be processed)
First , we declare variables that we need
// we"ll make HTTP request to this URL to retrieve weather conditions
String weatherWebserviceURL = "http://api.openweathermap.org/data/2.5/weather?q=ariana,tn&appid=2156e2dd5b92590ab69c0ae1b2d24586&units=metric";
//the loading Dialog
ProgressDialog pDialog;
// Textview to show temperature and description
TextView temperature, description;
// background image
ImageView weatherBackground;
// JSON object that contains weather information
JSONObject jsonObj;
Then , we link the graphical item that we created above to those variables
//link graphical items to variables
temperature = (TextView) findViewById(R.id.temperature);
description = (TextView) findViewById(R.id.description);
weatherBackground = (ImageView) findViewById(R.id.weatherbackground);
Now , we’ll start the most important part , which is making HTTP request to retrieve weather conditions and load the appropriate image and set it as a background
// prepare and show the loading Dialog
pDialog = new ProgressDialog(this);
pDialog.setMessage("Please wait while retrieving the weather condition ...");
pDialog.setCancelable(false);
 pDialog.show();

// make HTTP request to retrieve the weather
JsonObjectRequest jsonObjReq = new JsonObjectRequest(Request.Method.GET,
        weatherWebserviceURL, null, new Response.Listener() {

    @Override
    public void onResponse(JSONObject response) {
        try {
            // Parsing json object response
            // response will be a json object


            jsonObj = (JSONObject) response.getJSONArray("weather").get(0);
            // display weather description into the "description textview"
            description.setText(jsonObj.getString("description"));
            // display the temperature
            temperature.setText(response.getJSONObject("main").getString("temp") + " °C");

            String backgroundImage = "";

            //choose the image to set as background according to weather condition
            if (jsonObj.getString("main").equals("Clouds")) {
                backgroundImage = "https://blog.marwen.doukh.tn/wp-content/uploads/2017/01/clouds-wallpaper2.jpg";
            } else if (jsonObj.getString("main").equals("Rain")) {
                backgroundImage = "https://blog.marwen.doukh.tn/wp-content/uploads/2017/01/rainy-wallpaper1.jpg";
            } else if (jsonObj.getString("main").equals("Snow")) {
                backgroundImage = "https://blog.marwen.doukh.tn/wp-content/uploads/2017/01/snow-wallpaper1.jpg";
            }

            // load image from link and display it on background
           // We'll use the Glide library
            Glide
                    .with(getApplicationContext())
                    .load(backgroundImage)
                    .centerCrop()
                    .crossFade()
                    .listener(new RequestListener<String, GlideDrawable>() {
                        @Override
                        public boolean onException(Exception e, String model, Target target, boolean isFirstResource) {
                            System.out.println(e.toString());
                            return false;
                        }

                        @Override
                        public boolean onResourceReady(GlideDrawable resource, String model, Target target, boolean isFromMemoryCache, boolean isFirstResource) {
                            return false;
                        }
                    })
                    .into(weatherBackground);

            // hide the loading Dialog
            pDialog.dismiss();


        } catch (JSONException e) {
            e.printStackTrace();
            Toast.makeText(getApplicationContext(), "Error , try again ! ", Toast.LENGTH_LONG).show();
            pDialog.dismiss();

        }


    }


}, new Response.ErrorListener() {

    @Override
    public void onErrorResponse(VolleyError error) {
        VolleyLog.d("tag", "Error: " + error.getMessage());
        Toast.makeText(getApplicationContext(), "Error while loading ... ", Toast.LENGTH_SHORT).show();
        // hide the progress dialog
        pDialog.dismiss();
    }
});

// Adding request to request queue
AppController.getInstance(this).addToRequestQueue(jsonObjReq);
After that , you’ll notice that you got an error , because you called a class “AppController” without creating it , So we’ll create this class. Go to your package and add a class “AppController”.
This class aims to provide a single instance of the “Context”. If you’re familiar with JAVA , “AppController” is an implementation of the Singleton design pattern.
Open the class and add the following code
public class AppController {

    private static AppController mInstance;
    private static Context mCtx;
    private RequestQueue mRequestQueue;

    private AppController(Context context) {
        mCtx = context;
        mRequestQueue = getRequestQueue();
    }

    // if an instance is already create , it will return it . if no instance was created , it will create a new one then reurn it
    public static synchronized AppController getInstance(Context context) {
        if (mInstance == null) {
            mInstance = new AppController(context);
        }
        return mInstance;
    }

    public RequestQueue getRequestQueue() {
        if (mRequestQueue == null) {
            mRequestQueue = Volley.newRequestQueue(mCtx.getApplicationContext());
        }
        return mRequestQueue;
    }

    public  void addToRequestQueue(@NonNull final Request request) {
        getRequestQueue().add(request);
    }

    public  void addToRequestQueueWithTag(@NonNull final Request request, String tag) {
        request.setTag(tag);
        getRequestQueue().add(request);
    }
}
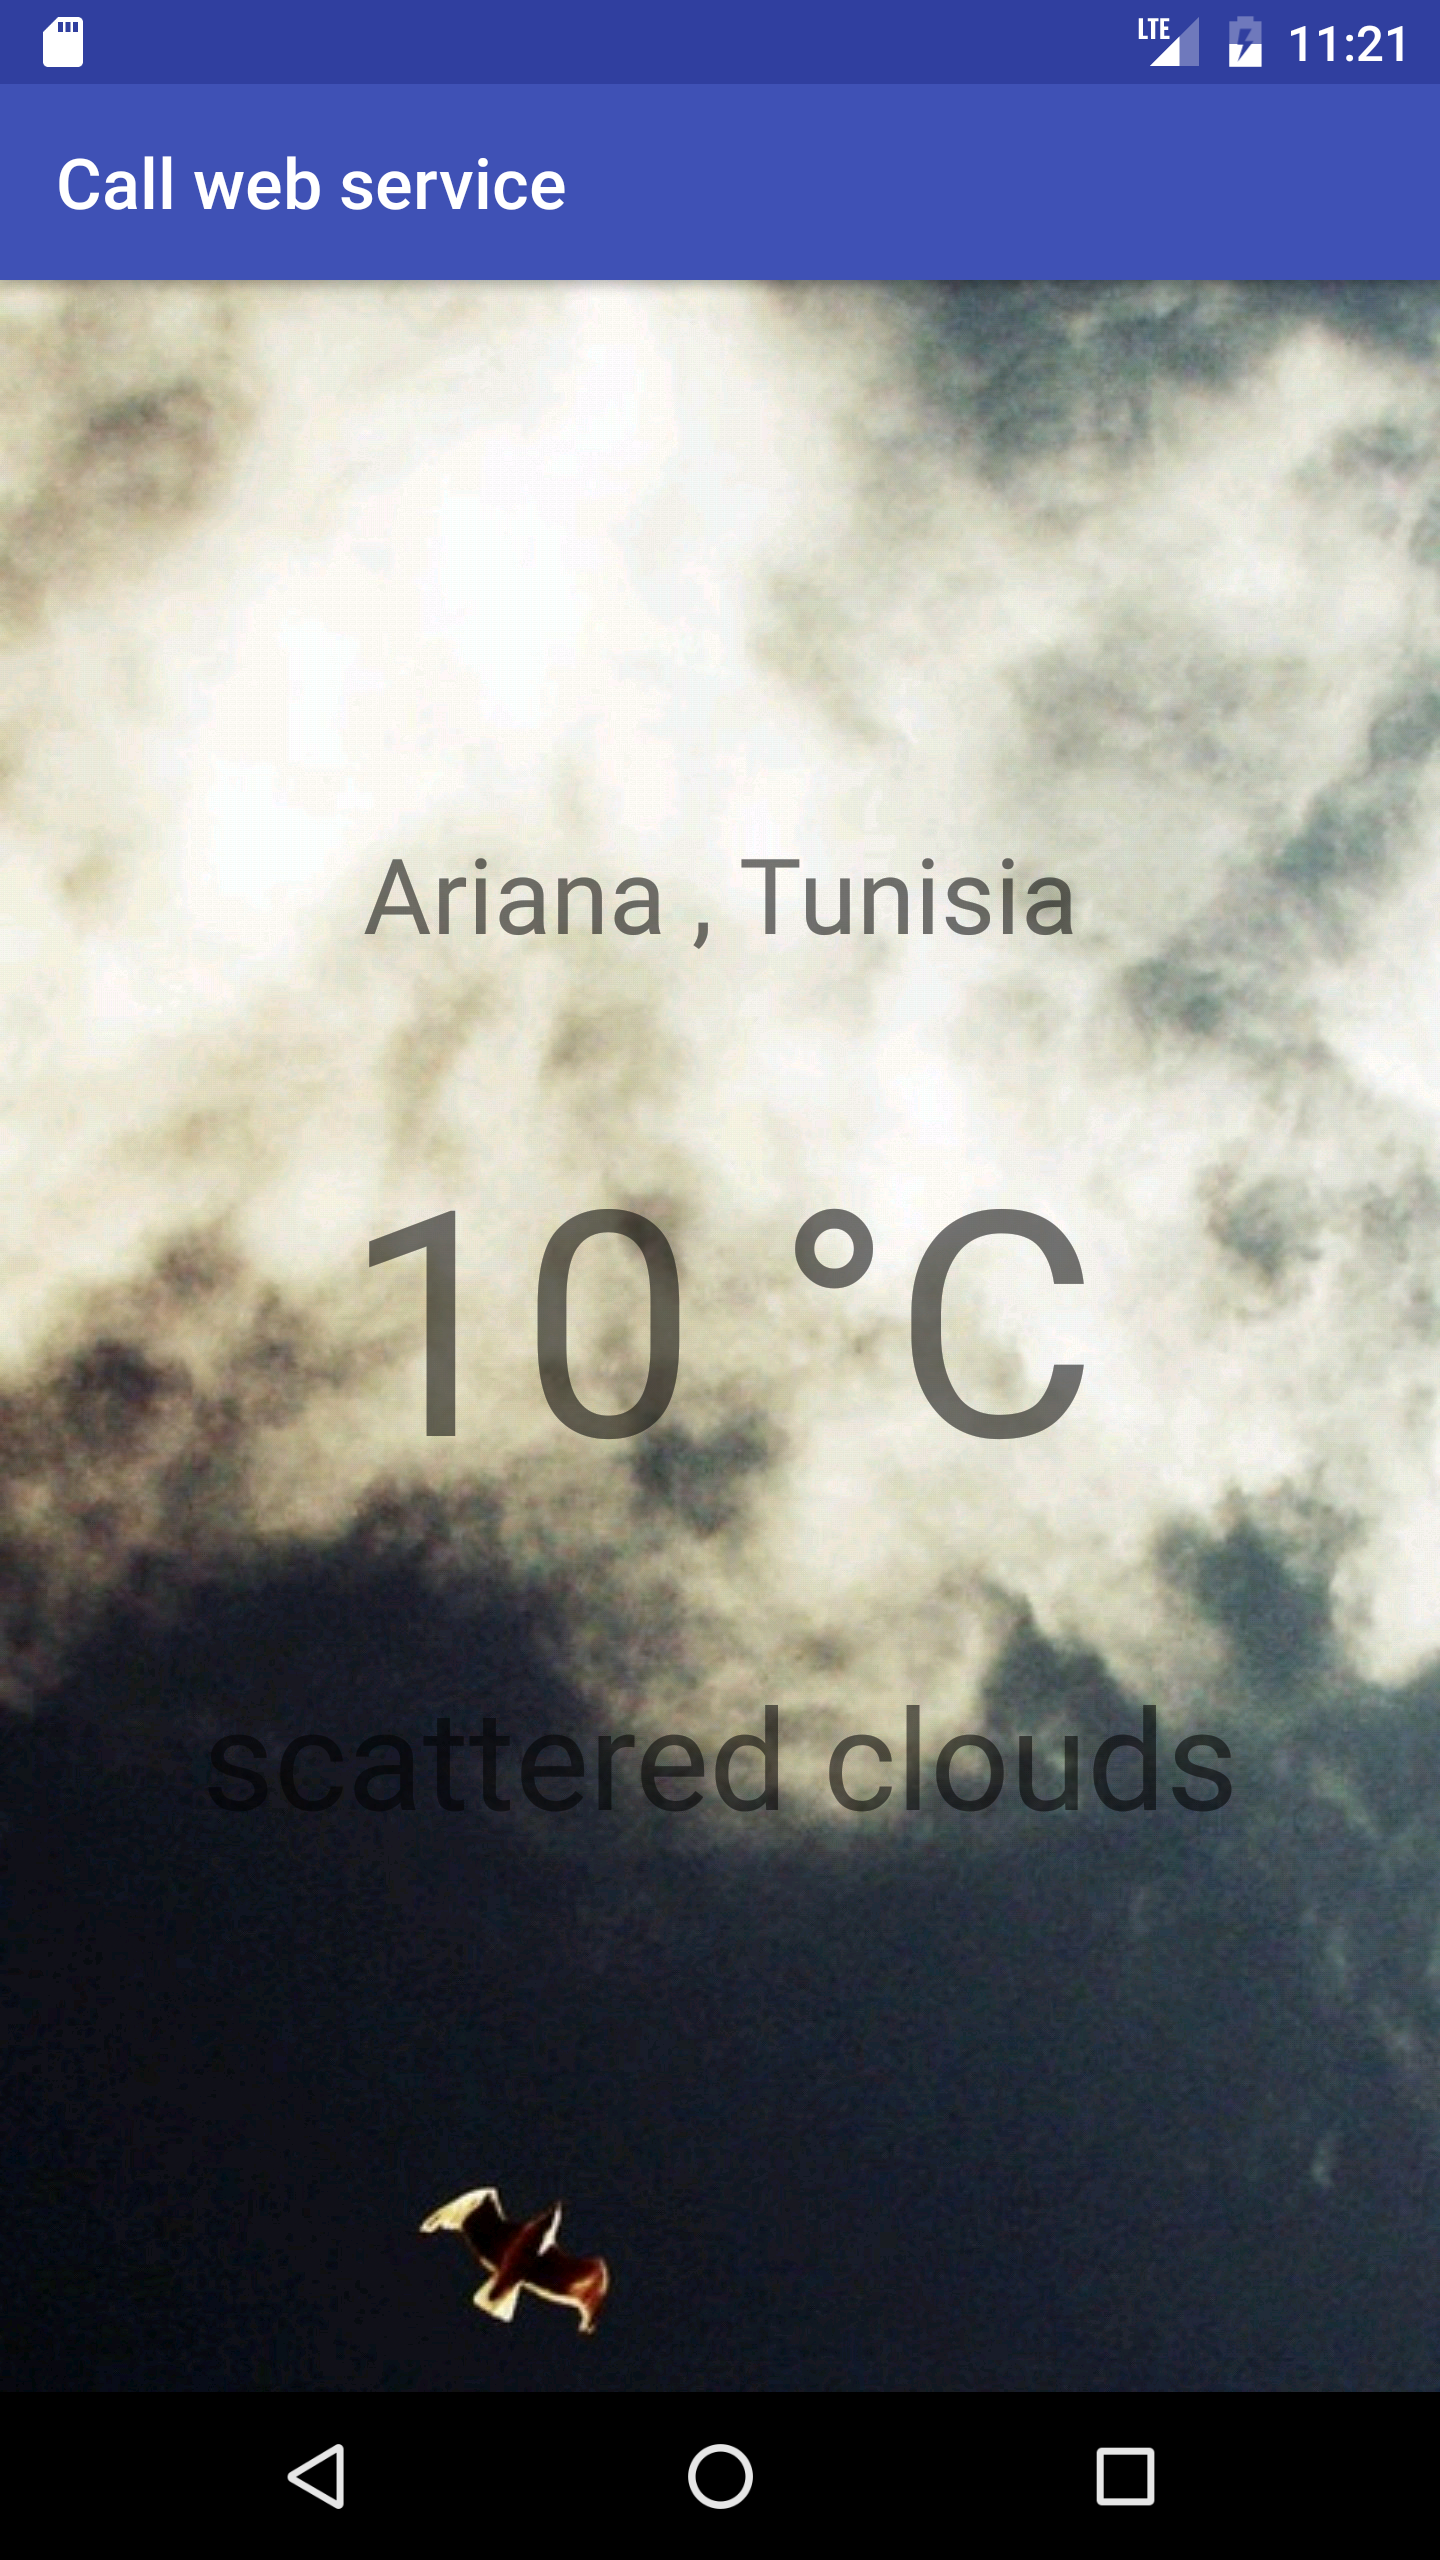
Testing
When we launch the App , it will automatically make a HTTP request and display current weather conditions
5 replies on “Consuming REST web service from Android”
I try to follow this tutorial, but at: ‘PREPARING THE GUI’ the code blocks are empty. And when I donload the project I get a message about GIT is not found. Can you help me out?
Have you installed Git ?
Thanks for your reply. No I have not installed Git, Perhaps I should do that, but can you fill the empty code blocks in your tutorial?
I’ve fixed the issue. Thank you for your feedback .
One of the easiest and best tutorials